
A contact form is essential for any website, it connects you with visitors, builds trust, and captures valuable data. If you’re using WordPress, choosing the right form builder can make all the difference.
This guide explores Skyflow Forms, a modern, lightweight solution designed for both beginners and advanced users.
What is Skyflow Forms?
Skyflow Forms is a user-friendly WordPress form builder that helps you create responsive forms quickly. Whether you need a basic contact form or a multi-step feedback system, it provides flexibility without overwhelming complexity.
Its clean interface and real-time preview make form creation intuitive, even for beginners.
Why Choose Skyflow Forms?
Key Features That Stand Out
- Drag-and-drop builder – Easily add and arrange fields visually
- Multi-column layouts – Create responsive designs with 1–6 columns
- Live preview – Test forms on desktop, tablet, and mobile
- Email notifications – Send alerts and auto-responses
- Submission management – Track, filter, and export entries
- Analytics dashboard – Monitor performance with built-in charts
- Global validation messages – Customize error messages site-wide
- Shortcode support – Embed forms anywhere
- SMTP compatibility – Works with popular email plugins
Free vs Pro Features
Free Form Fields
The free version includes everything needed for basic forms:
- Name, Email, Phone
- Text and Textarea
- Dropdowns, Radio buttons, Checkboxes
- Submit button
Advanced Fields (Pro)
Upgrade to unlock:
- File and image uploads
- Date & time pickers
- GDPR consent and CAPTCHA
- Rating systems
- Custom HTML fields
This makes Skyflow Forms scalable, from simple contact forms to advanced data collection tools.
How to Create a Contact Form with Skyflow Forms (Step-by-Step)
Step 1: Install the Plugin
Go to your WordPress dashboard → Plugins → Add New → Search for “Skyflow Forms” → Install and activate.
Step 2: Create a New Form
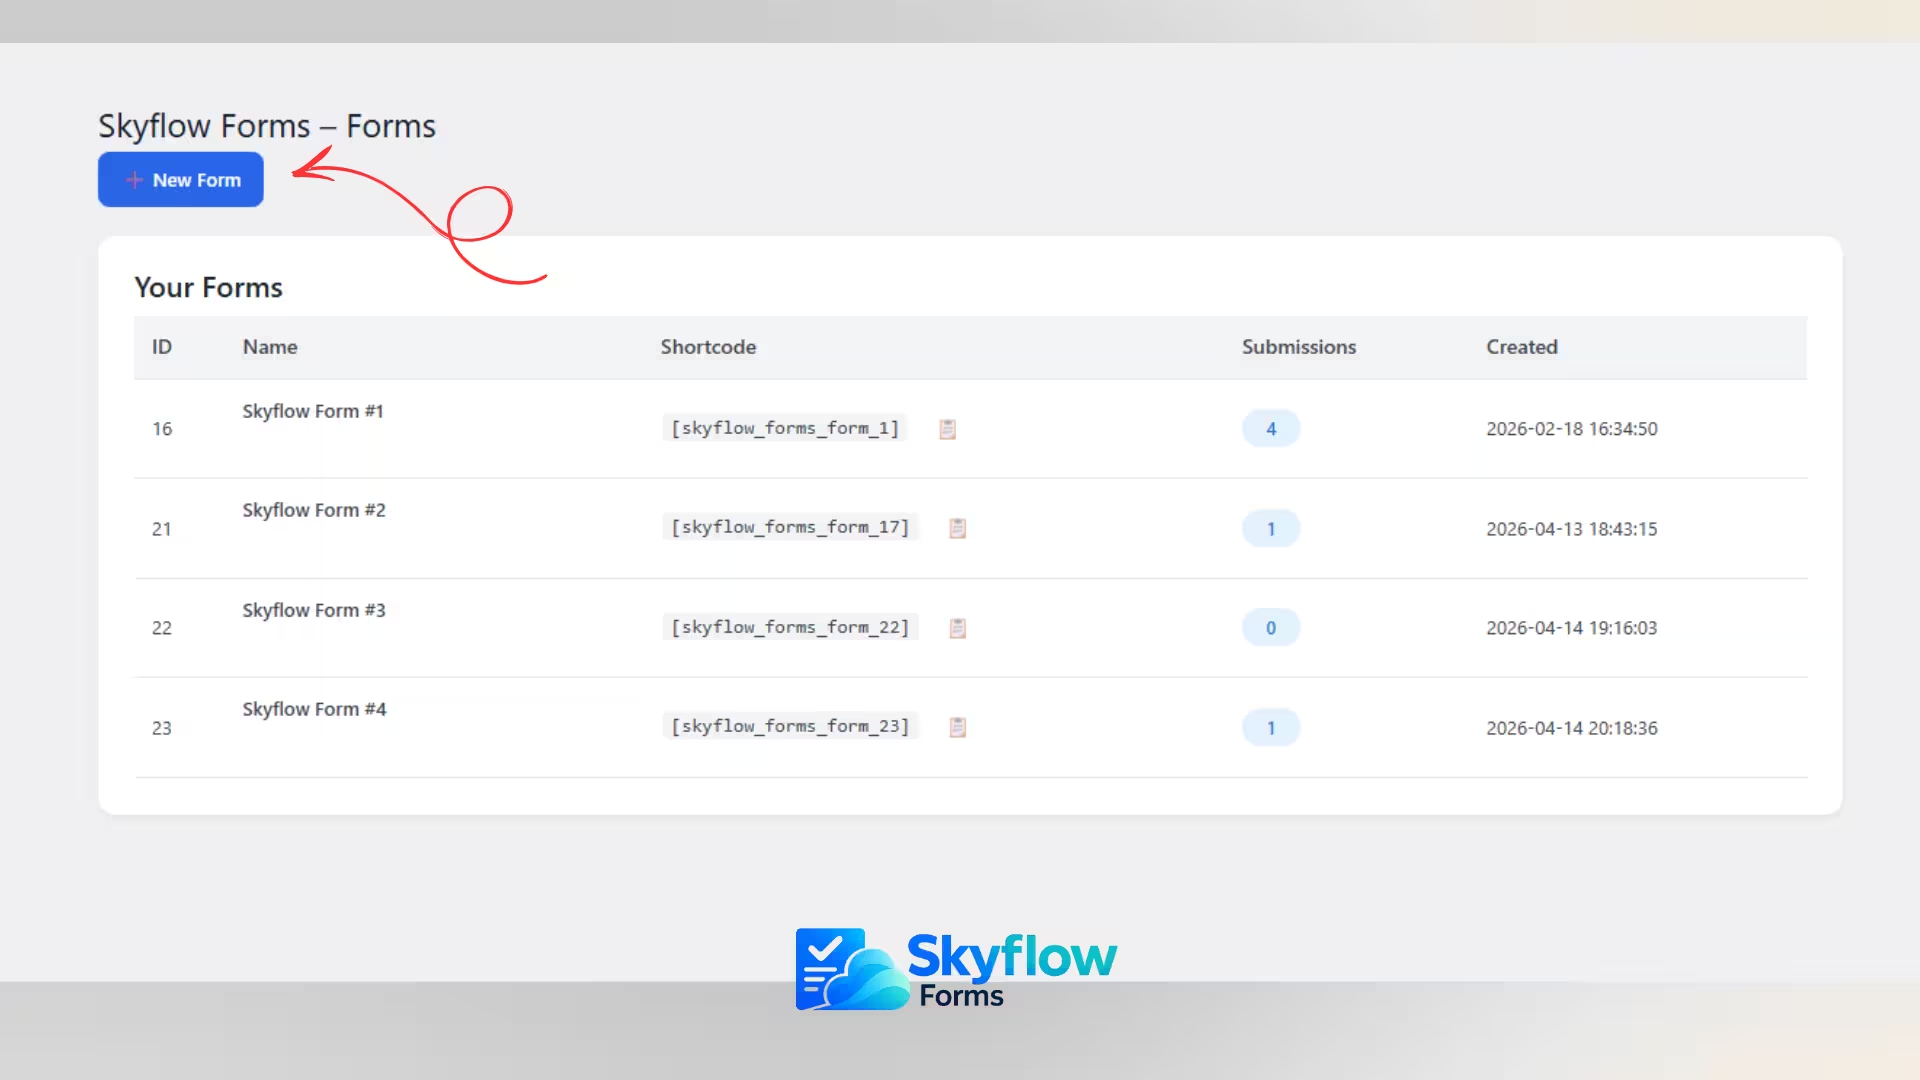
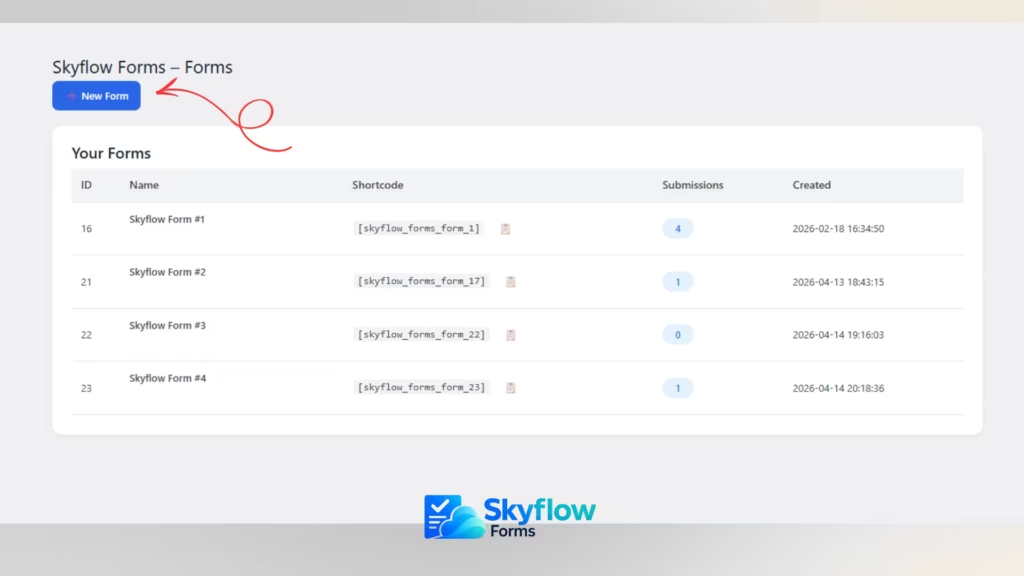
Click Skyflow Forms in the dashboard and select Add New.
Give your form a name (you can edit the default name anytime).
Step 3: Understand the Interface
- Left panel: Fields (Basic, Advanced, Containers)
- Right panel: Form builder canvas
- Customization tab: Styling and layout options
Step 4: Add Fields
Drag or click fields to add them to the form.
Customize each field:
- Label text
- Placeholder
- Help text
- Layout positioning
Step 5: Use Containers for Layout
Add containers (1–6 columns) to create structured layouts.
This helps design professional, responsive forms.
Step 6: Preview Your Form
Use the live preview feature to test responsiveness across devices.
Step 7: Publish and Embed
Save your form and use:
- Shortcode for inline display
- CSS class for modal popup
Advanced Layout Features
Multi-Column Containers
Create visually appealing forms with flexible layouts.
For example, place First Name and Last Name side by side.
Accordion and Tabs (Pro)
Organize long forms into sections:
- Accordion panels for collapsible content
- Tabs for step-by-step navigation
This improves user experience and reduces form abandonment.
Analytics and Performance Tracking
Skyflow Forms includes a built-in analytics dashboard with:
- Total submissions
- Spam tracking
- Read/unread status
- Top-performing forms
You can filter data by date range or specific forms, helping you optimize performance.
If you’re looking for a modern, flexible, and easy-to-use form builder, Skyflow Forms is a strong choice. It balances simplicity with powerful features, making it suitable for beginners and advanced users alike.
Start with the free version, and upgrade as your needs grow. With Skyflow Forms, building professional WordPress forms has never been easier.
👉 Ready to improve your website? Try Skyflow Forms today and create your first contact form in minutes.