Creating a knowledge base is quick and straightforward. While the default settings work well for most users, you can customize the setup to better fit your specific needs. Once the plugin is installed, you can begin creating articles. However, before doing so, it’s important to organize your knowledge base by setting up a few key components.
Help Topics (Categories)
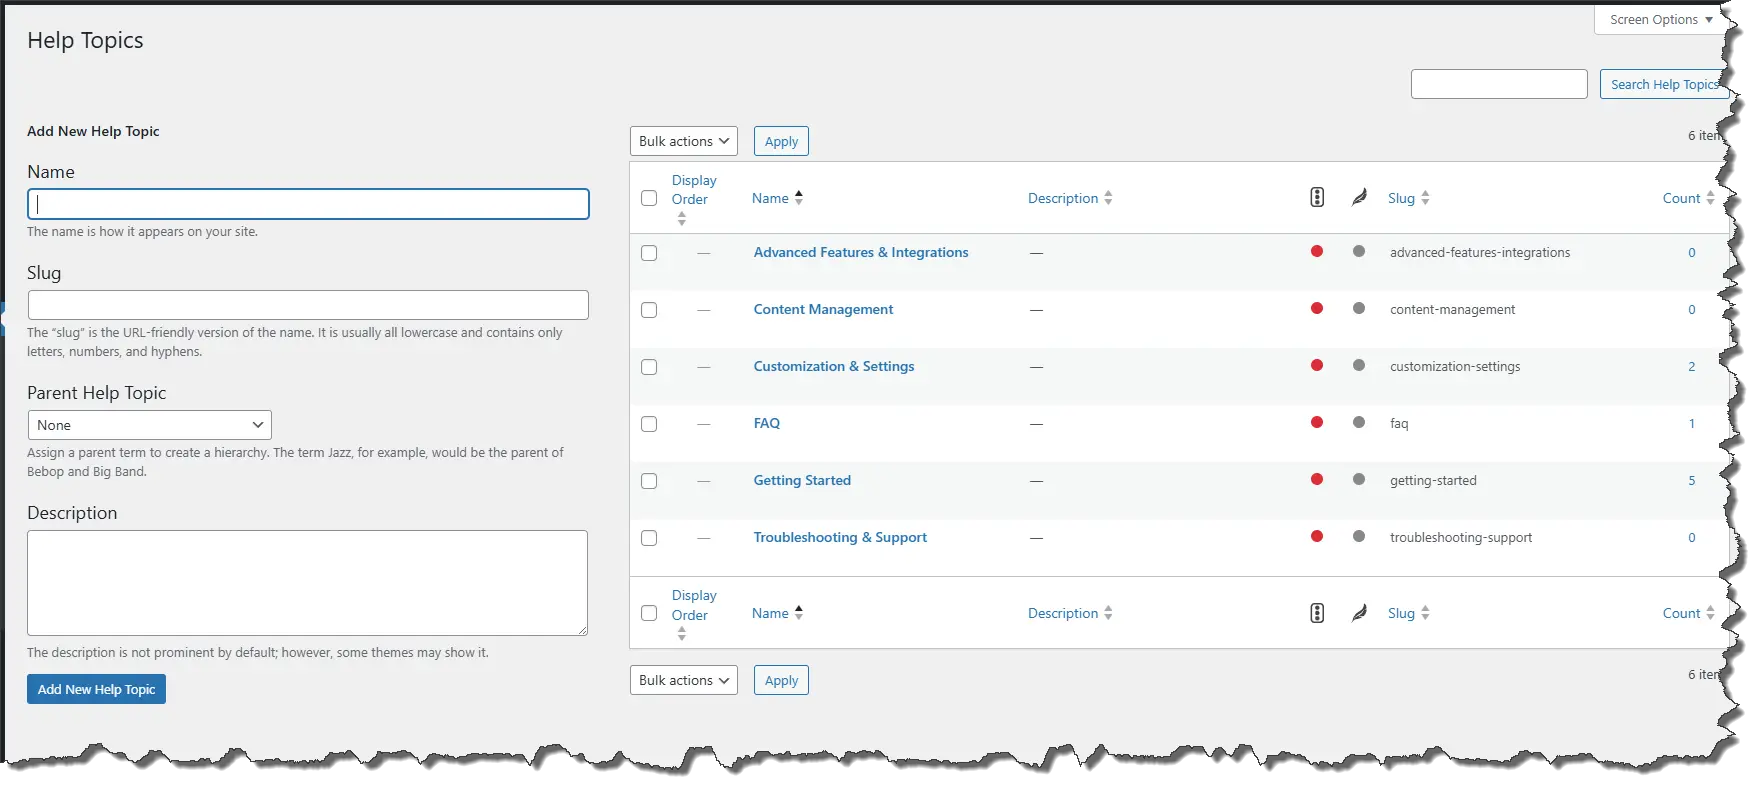
In the Knowledge Base, Help Topics are used to group related articles. These function as categories and help users find information more efficiently.
How to Create Help Topics
- Navigate to Knowledge Base > Help Topics in your WordPress dashboard.
- On the Help Topics page, locate the “Add New Help Topic” section.
- Fill in the following details:
- Name: The title of your help topic.
- Slug: A URL-friendly version of the name. You can define your own slug for better SEO, or leave it blank to auto-generate one.
- Description (optional): A short description of the topic.
- Click Add New Help Topic.
You can repeat this process to create as many help topics as needed.
Edit Help Topic Details
Once a help topic is created:
- Hover over the topic name and click Edit.
- On the edit screen, you can:
- Set Display Order: Use a numeric value to determine the order of topics on the frontend. Lower numbers appear first (e.g., 0 = first, 1 = second).
- Add an Icon or Image for the topic display using one of these options:
- Auto: Smart icon based on topic name.
- Custom Icon
- Custom Image
Creating Knowledge Base Articles
After setting up your Help Topics, you’re ready to create articles. Follow these steps:
Step 1: Add a New Article
- Go to Knowledge Base > Add Knowledge Base.
- Enter a clear and descriptive title.
- Use the WordPress editor to add your content.
- Structure your content using headings, bullet points, and images to enhance readability.
Step 2: Organize with Help Topics and Tags
- Help Topics: Assign each article to the appropriate help topic (category).
- Tags: Add relevant tags to make articles easier to locate via search.
Step 3: Configure Article Access Control
You can control whether an article is visible to all visitors or only logged-in users.
- Access settings can be defined globally or overridden per article.
- In the article settings panel, you can:
- Override Global Access Settings
- Require Login to View
- The current default access setting will be displayed. You can adjust it based on your preferences.

Step 4: Publish and Test
- Click Publish to make the article live.
- Visit your site to:
- Confirm the article is displaying correctly.
- Test the search and filter features for functionality.
By following these steps, you’ll build a structured and user-friendly knowledge base that helps users find answers quickly and efficiently.