Instant Knowledge Base includes built-in content box styles, Tip, Info, and Warning, to help you highlight important details for readers. These visually distinct boxes make your articles easier to scan and ensure critical points stand out.
Why Use Content Boxes?
- Tip Box — Best for quick tricks, shortcuts, or best practices.
- Info Box — Ideal for highlighting general important information or context.
- Warning Box — Used for alerts, cautions, or critical instructions.
Adding a Tip, Info, or Warning Box
If you have an existing knowledge base article it won’t automatically update with the content boxes, you must manually add the boxes to make them work. You can add content boxes to both existing and new articles.
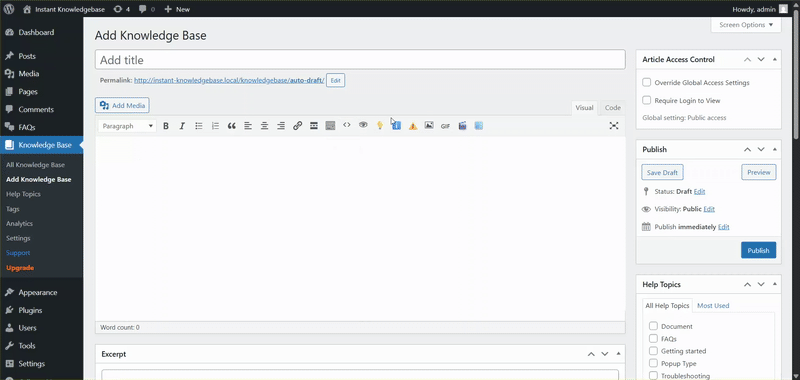
Step 1 — Open the Article Editor
- Go to Knowledge Base → All Articles (or create a new article via Add New).
- Click Edit on the article where you want to add the box.
ℹ️
If you do not see the Tip, Info, and Warning buttons in the toolbar:
- Go to Instant Knowledge Base → Settings → Typography and Icons.
- Scroll down to Content Editor Tools.
- Check Enable Content Editor Tools.
- Click Save Changes.
Step 2 — Insert a Content Box
To add the content box you can locate editor toolbar on the top of the edit window.
- In the editor toolbar, look for the Content Box buttons:
- 🛈 Info
- 💡 Tip
- ⚠ Warning
- Place your cursor where you want the box to appear.
- Click the relevant button, a styled block will be inserted automatically.
Step 3 — Add Your Text
- Replace the placeholder text with your own message.
- Keep the content concise for better readability.
- Use bullet points for lists inside boxes if needed.
- You can keep or remove default option as per your need.
Step 4 — Save and Preview
- Click Update (or Publish) to save changes.
- Use the Preview option to see how the box appears in your article.
Example
That’s it! You’ve successfully added visually engaging Tip, Info, and Warning boxes to your articles, helping readers quickly find the most important details.